In this article
Spend your first $100 on home security in this order: a loud alarm on the openings a stranger can reach, then something that holds your weakest door. Below are four real baskets at today's prices, each under $100, for an apartment, a house you own, a house with a patio door and a house that's mostly windows.
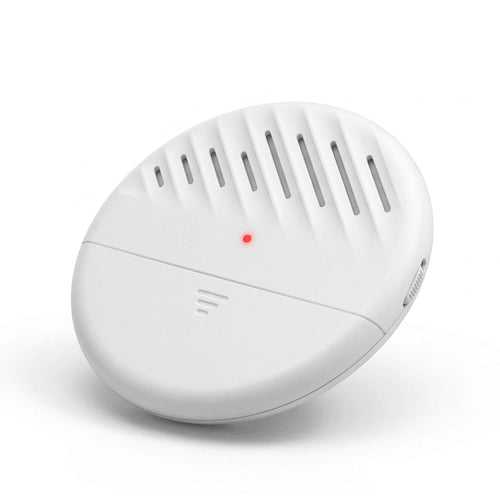
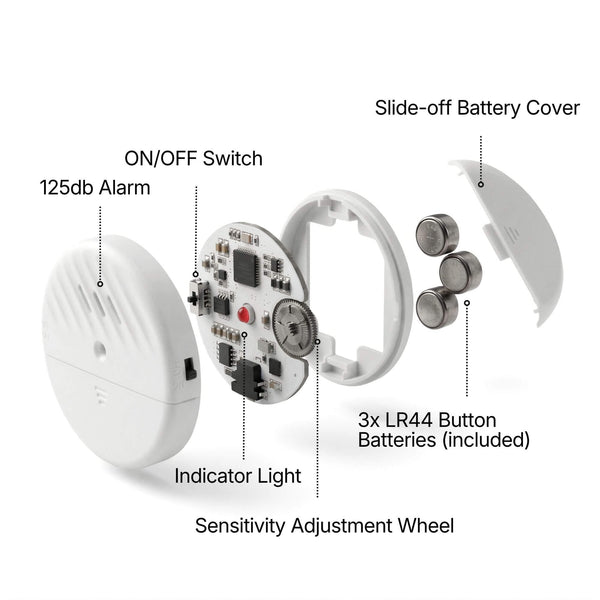
Every basket starts with the TremShield Vibration Alarm. It reacts to a knock or a pry on the window or door it's stuck to, with a 125 dB siren. Fitting one takes about a minute. There are no tools, no Wi-Fi and no monthly fee.

Why noise comes first
A lock makes a door slower. It doesn't tell anyone. In a University of North Carolina at Charlotte survey of 422 incarcerated burglars, about 83% said they would try to find out whether a home had an alarm, and about 60% said an alarm would send them looking for a different target. That is why every basket below spends on sound before it spends on steel.
Four baskets under $100
Prices are today's store prices, before any sales tax, and shipping is free. Alarm prices drop as the count rises: $29.99 for one, $24.99 apiece for two or three, $19.99 apiece for four or five, and $16.50 apiece for six.
The apartment: $86.96
- One TremShield alarm on the balcony door or the window you can reach: $29.99
- A Portable Travel Door Lock for the front door, no screws: $19.99
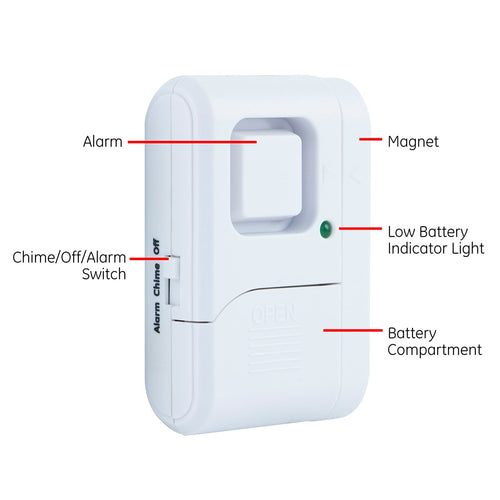
- A Door Stop Alarm under the same door, 9V battery sold separately: $16.99
- The Door & Window Entry Alarm 4-Pack for four more windows: $19.99
The house you own: $99.96
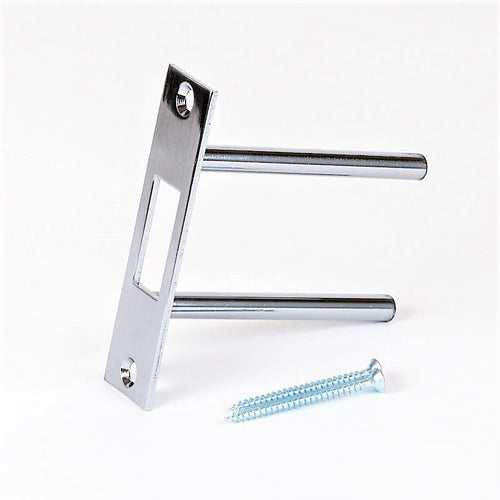
- A Door Strike Plate Kit on the front door, six 3-inch screws into the stud: $24.99
- Three TremShield alarms, for the back door and two ground-floor windows: $74.97 ($24.99 each)
The house with a patio slider: $92.96
- An Adjustable Door Security Bar in the patio track: $34.99
- Two TremShield alarms, one on the slider glass and one on the window beside it: $49.98 ($24.99 each)
- A No-Drill Window Door Lock for a sliding window you vent: $7.99
The house that's mostly windows: $99
- The 6-pack: six alarms at $16.50 each, six openings covered
- Two free no-drill window locks and the Home Security Guide, included
Bought one at a time, six alarms would cost $179.94. The pack saves $80.94, and it's the only basket where every dollar goes to noise. To see which basket your home needs, count the openings someone could reach from the ground:
Why not spend the whole $100 on locks?
Because locks stay silent. A lock that holds buys time, but nobody knows the door is being tested. Spend on the frame of your weakest door, and put the rest into sound.
What to skip with the first $100
- A monitoring contract. A monthly fee never stops; every basket above is paid once. Add monitoring later if you want someone dispatched while you're away. The 60-second quiz tells you if you're that case.
- Cameras before doors. A camera records an entry. It doesn't stop one. Fix the doors and cover the glass first.
- A pricey smart lock on a weak frame. The frame splits at the strike plate whatever lock sits in it. The strike plate kit is $24.99.
- A decoy on its own. A decoy camera or a warning sign only bluffs unless a siren backs it up. Buy it last, not first.
- Upstairs windows. Glass nobody can reach without a ladder comes after every ground-level opening. Our room-by-room count sorts which is which.
Your second $100
Once the first basket is in, the next round is a strike plate on the back door, locks on the sashes you leave open for air (what the next $30 buys for windows), an alarm for the shed or a detached garage, and only then a camera for the porch.
Budget security: before you check out
What should I buy first for home security?
An alarm on the opening most likely to be tried, usually a ground-floor window or the back door, because it's the only thing on the list that makes noise. Then add something that holds your weakest door.
Are six alarms better than a mix of alarms and locks?
If most of the openings someone could reach are glass, six alarms for $99 cover the most ground. If your main door has a weak frame, a mix with a $24.99 strike plate kit fixes that first.
Does the $100 include shipping?
Shipping is free to the US, Canada, the UK, Australia and New Zealand, so the basket totals are what you pay before any sales tax.
Can a renter use these baskets?
Yes, except the strike plate kit, which screws into the frame. Swap it for the adjustable door security bar or the portable travel door lock, neither of which needs tools.
Spend it once
For most homes, the strongest first $100 is the simplest: the 6-pack at $99. That's $16.50 per alarm against $29.99 for one. It saves $80.94 and comes with two free no-drill window locks, the Home Security Guide, free shipping and 30 days to return it. Six openings are covered the day it arrives, and nothing bills you after that.
Back to all articles